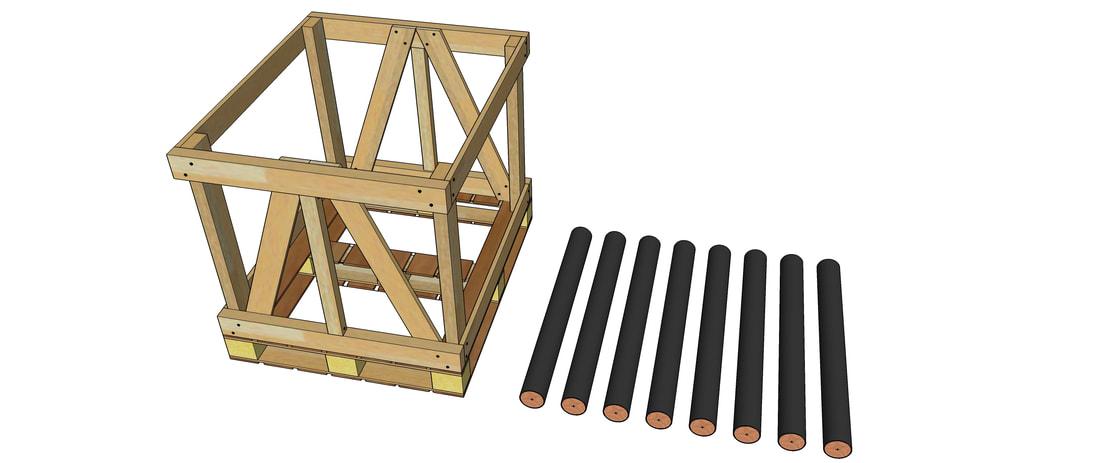
- To begin with, cut the plywood discs and lengths of PVC pipe, as are provided in the cut-list
- 16x Wooden Discs: 9.5cm Diameter x 2cm thick
8x PVC Pipes: 106cm Long x 10cm Diameter (848cm total)
32x PVC Pipes: 10cm Long x 5cm Diameter (320cm total)
6x PVC Pipes: 20cm Long x 1.5cm Diameter (120cm total)
- 16x Wooden Discs: 9.5cm Diameter x 2cm thick
- Insert the plywood discs into each of the ends of the thickest PVC pipe sections.
- Use 4 of your 20mm screws to securely attach the PVC pipe ends to the plywood disks.
- Use silicone caulking to create a watertight seal between the plywood disc and the pipe wall.
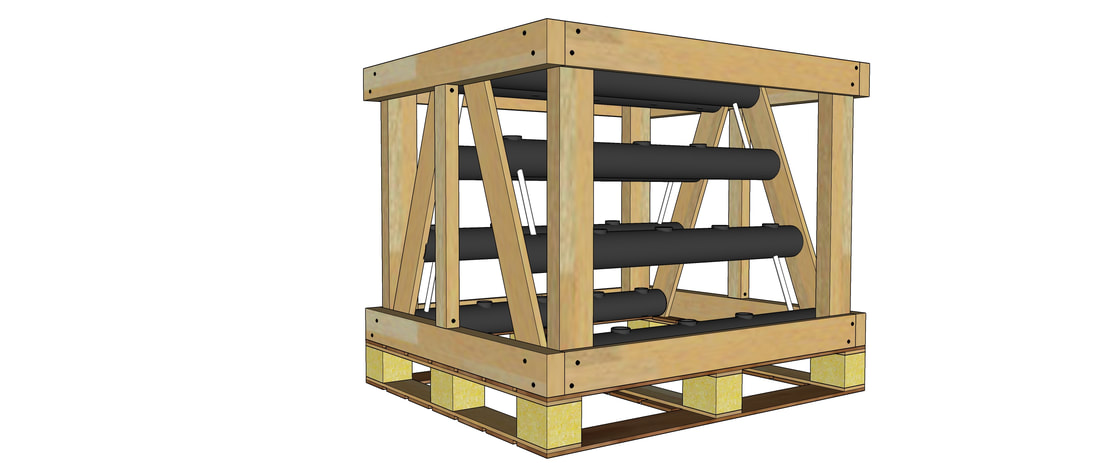
- Once you’ve closed off 8 pipe sections and sealed the ends, place two of them inside your farm cube so that they sit on the frame of the shipping pallet and between the angled support boards. Make sure that one end of each of these 2 pipe sections is sitting slightly higher than the other end so that the liquid fertilizer will drain properly and then screw through the angled support boards and into the plywood discs which cap the PVC pipes.
- Next you will need to install the other 6 pipes similarly to how you installed the previous two but with approximately 15cm(6”) between them, making sure that the highest end on each of the lower levels is closest to the lowest level on the pipe above it, so that the fertilizer will run from the PVC pipes at the top of the cube to those at the bottom.
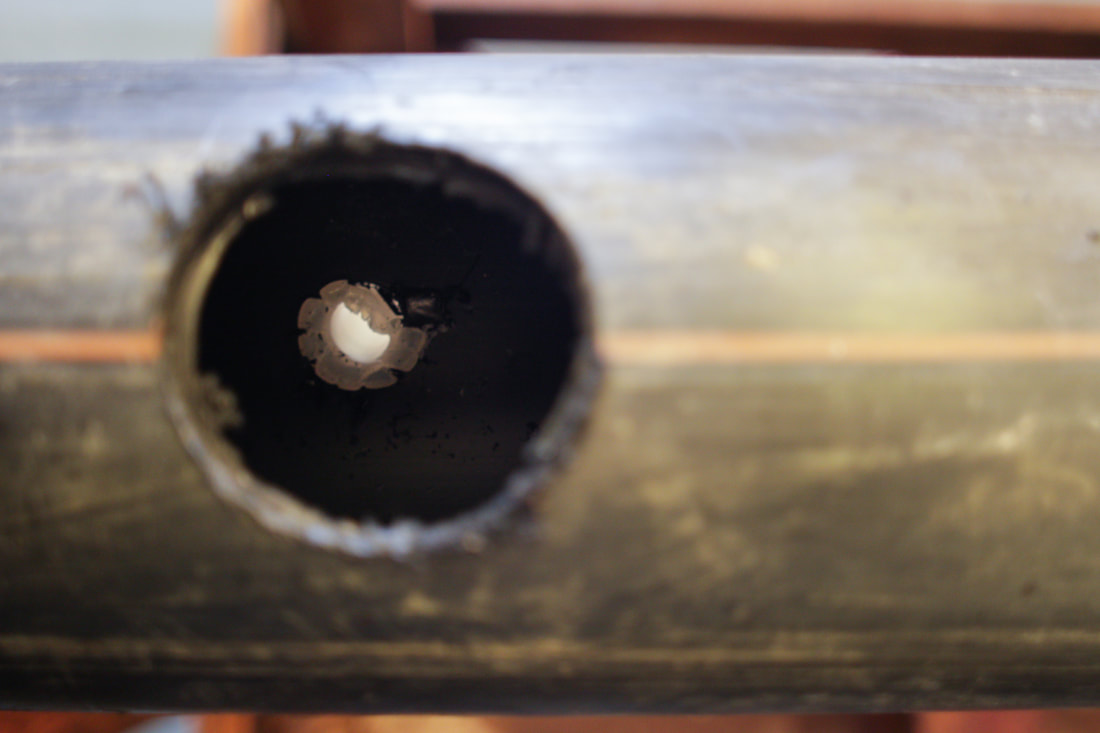
- With all of the PVC pipes installed, you will need to measure each pipe to drill 5 evenly spaced holes in it.
- In the 3 bottom pipes you will use a sawtooth hole cutter drill bit to to make 4 holes at the lowest points on the slope of each pipe. On the top tier pipes you will drill all 5 holes with your sawtooth hole cutter drill bit.
- For each remaining mark, which should be the highest point on each pipe, you will use the 15mm/ ⅝” Flat drill Bit to make a hole in the PVC pipe.
- Use the same 15mm/ ⅝” Flat drill Bit to drill a hole through the pipe directly above where you just drilled the 5th hole in each pipe.
- *If you imagine water flowing with the slope of each pipe, you want to imagine it dripping from the lowest point in each pipe through the 15mm/ ⅝” hole, into the same hole directly below it, and continuing until it reaches the bottom tier pipe.
- With your 20cm/8" Long x 15mm or 5/8" diameter, try to use a pair of pliers to roll down one end of the pipe so that it has fairly flat mushroom cap which will catch on the inside of the hole drilled in the PVC pipe.
- Insert the 15mm diameter pipe through the 5cm hole at the lowest end of the largest PVC pipes, passing it through the hole you just drilled and into the top hole of the pipe below it.
- Seal where the 15cm pipe passes through each of the two 10cm diameter PVC pipes.
- Wait for all of the silicone sealant to cure and test the system by pouring water in the top tier of the pipes and checking to make sure that it filters all of the way down to the bottom tier. Adjust the system as necessary and fix any problems you may encounter.
- Insert each of the 32x 10cm Long x 5cm Diameter PVC Pipes into the holes that you made with the sawtooth hole cutter drill bit, fill them with dirt and a plant in each.
- If you need to replace a plant in the future, it will be easy to do so by removing the whole 10cm Long x 5cm Diameter pipe that houses the root system and plant.
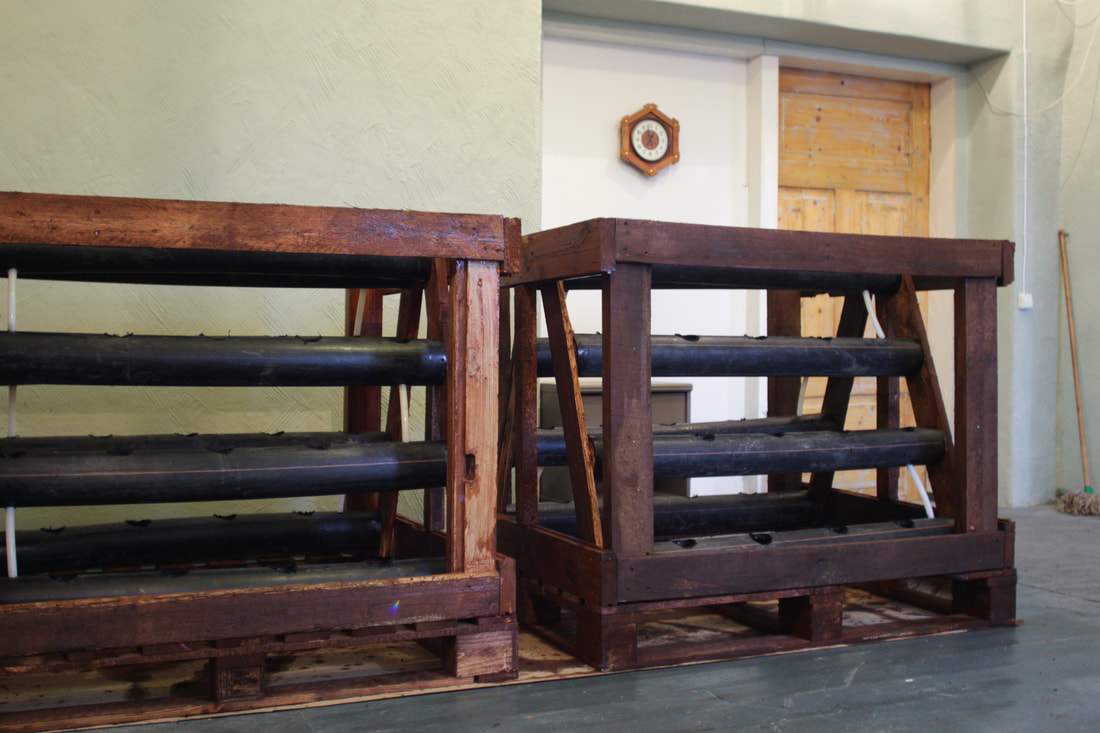
- With all of these steps complete, your rectangular cuboid should have a gravity driven semi-hydroponic system installed. In the following step, you will learn how to make a compost tea to feed your plants.
- Additionally, you can install a pump at the base of your farm cube to circulate the liquid fertilizer through the system.
- If you are stacking your farm cubes, up to 3 cubes high, use some additional PVC pipe or hose to connect upper levels to lower levels so that the liquid fertilizer trickles down through the whole system.